
FORD TRANSIT FRAMING
Building the internal foundation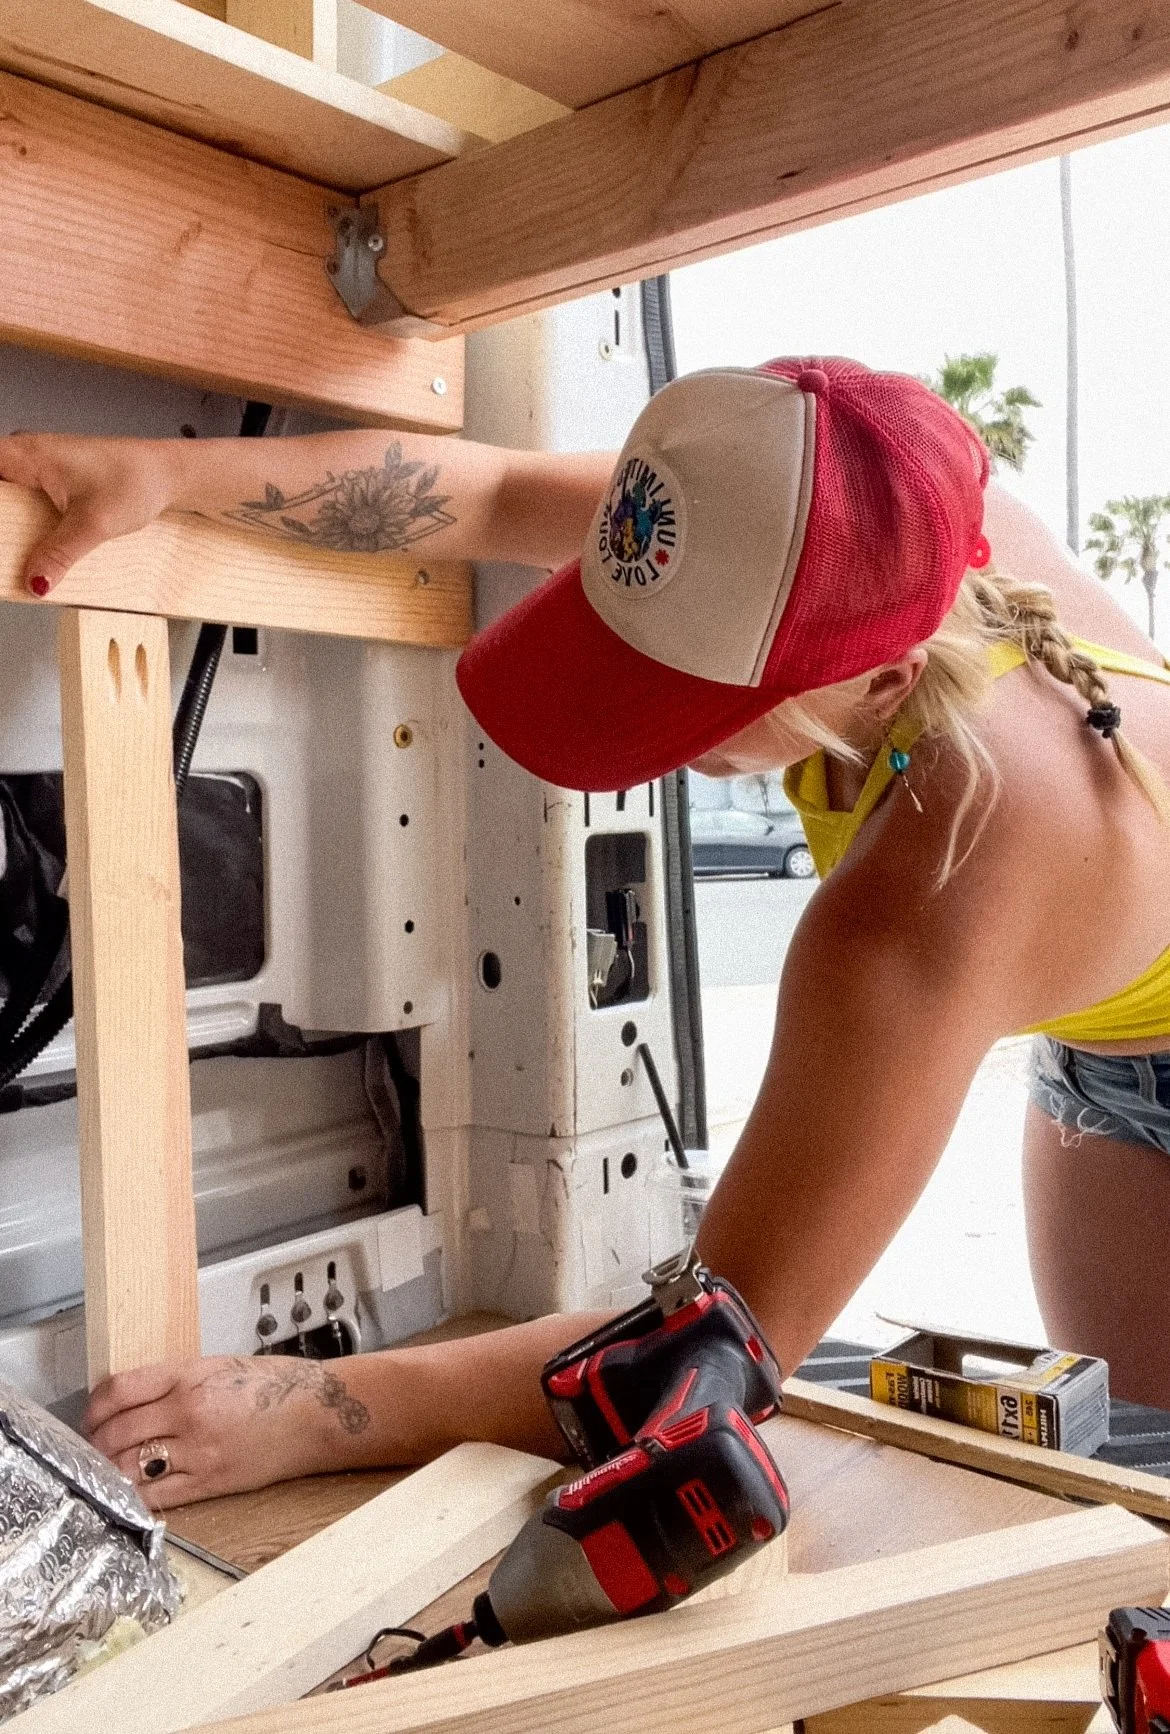
Getting started
My initial approach to framing my van was all over the place. This is because I went without a plan and I only had a jigsaw to cut my wood. I didn’t have the skill yet to cut straight with a jig saw nor was this the right tool to cut 1 by 3 long strips. While I did a great deal of researching framing I didn’t quite understand how to do it still. After making a list of my takeaways from all my research I was able to start over and understand the framing process.
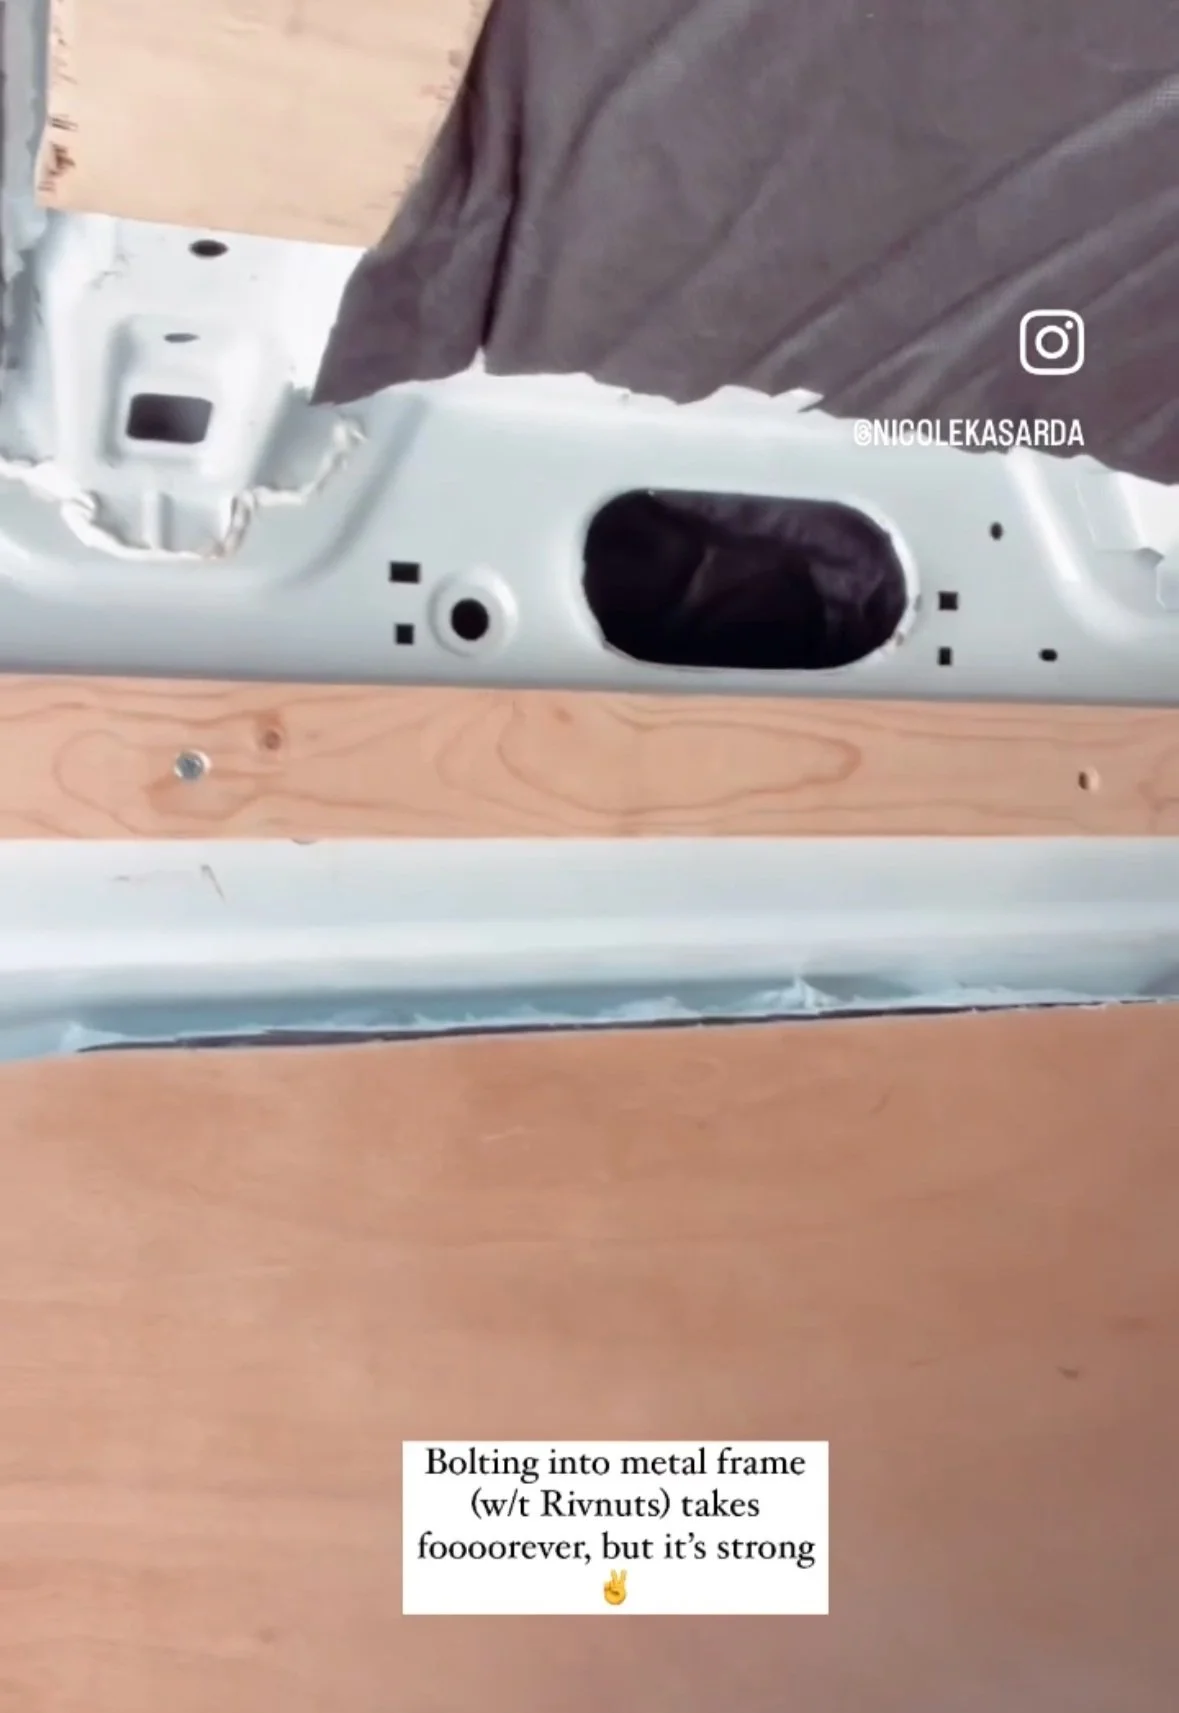
I would be screwing the wood directly into the premade van holes in the metal using rivets and bolts.
The importance of a pocket jig.
Re-doing my current framing.
I would be using 1 by 3” furring strips to frame my van (pine).
Now, I've seen people chuck large boards directly up on their walls and drill directly into the metal. However, during my initial framing process I did cut out big boards (as seen in the photos below) but it didn't look right to me. The framing boards I put up were so big that if I were to throw another board (let’s say 1/4” plywood) up, the weight would surely begin to add up.
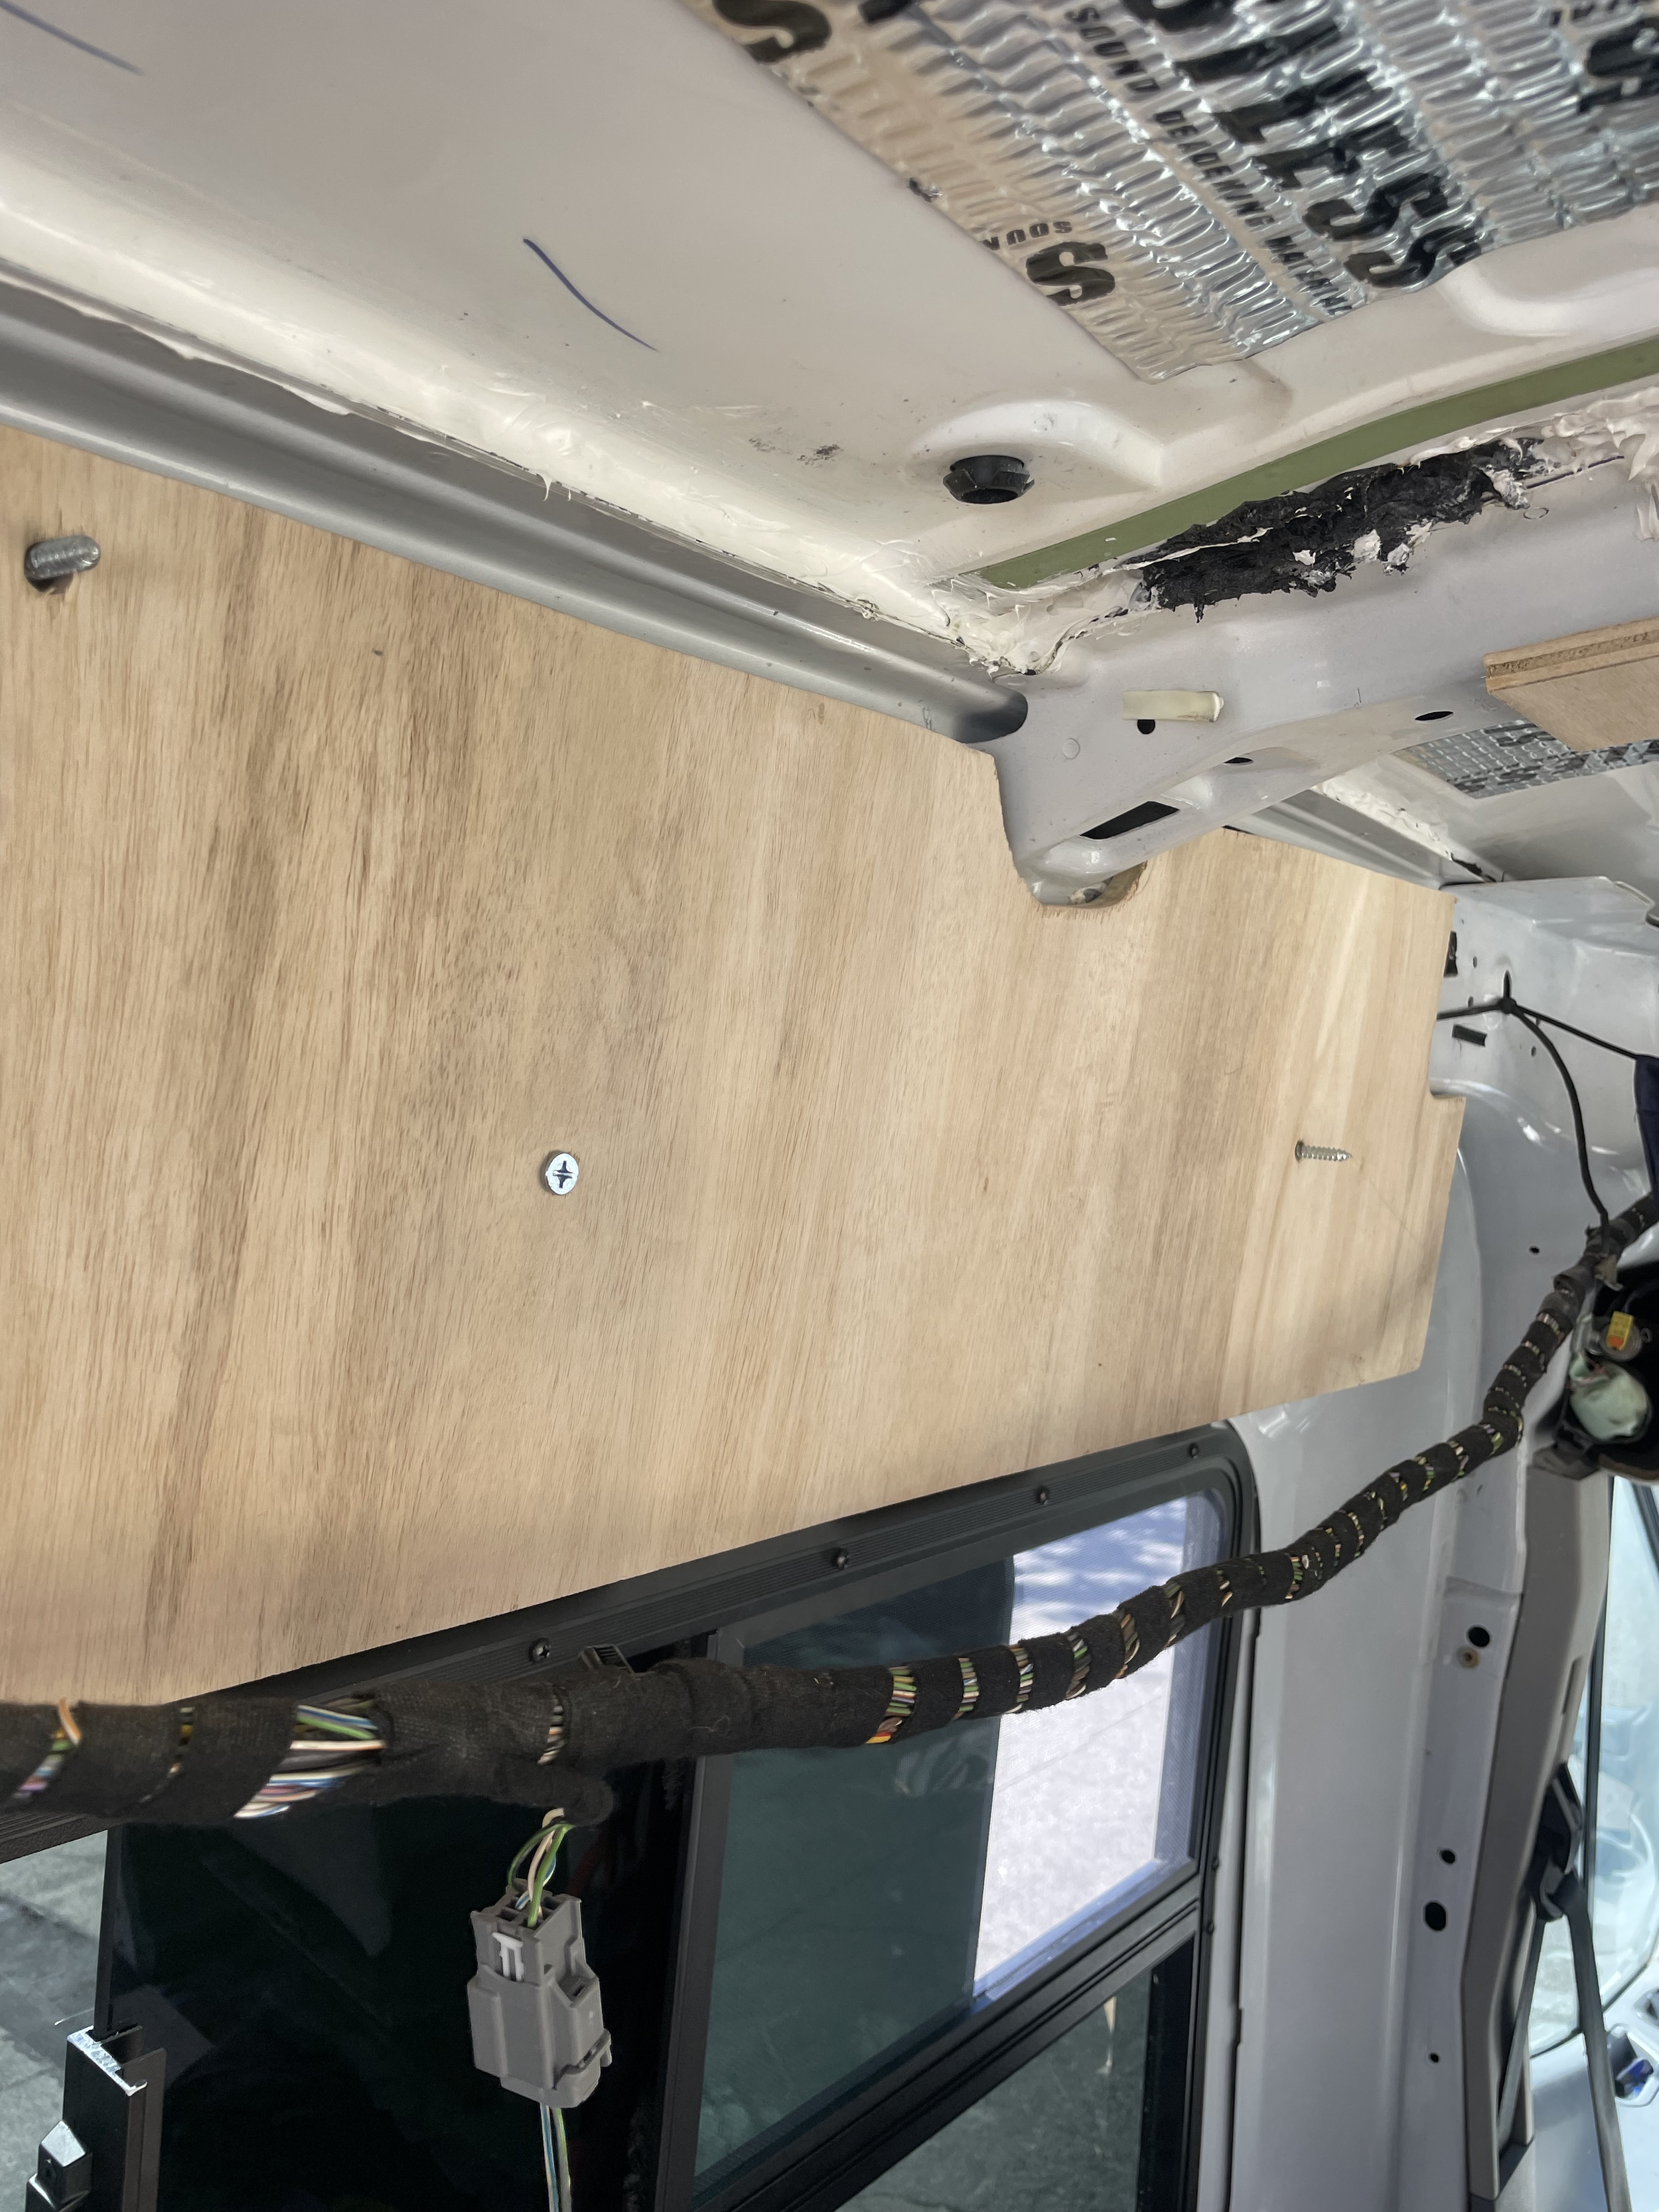
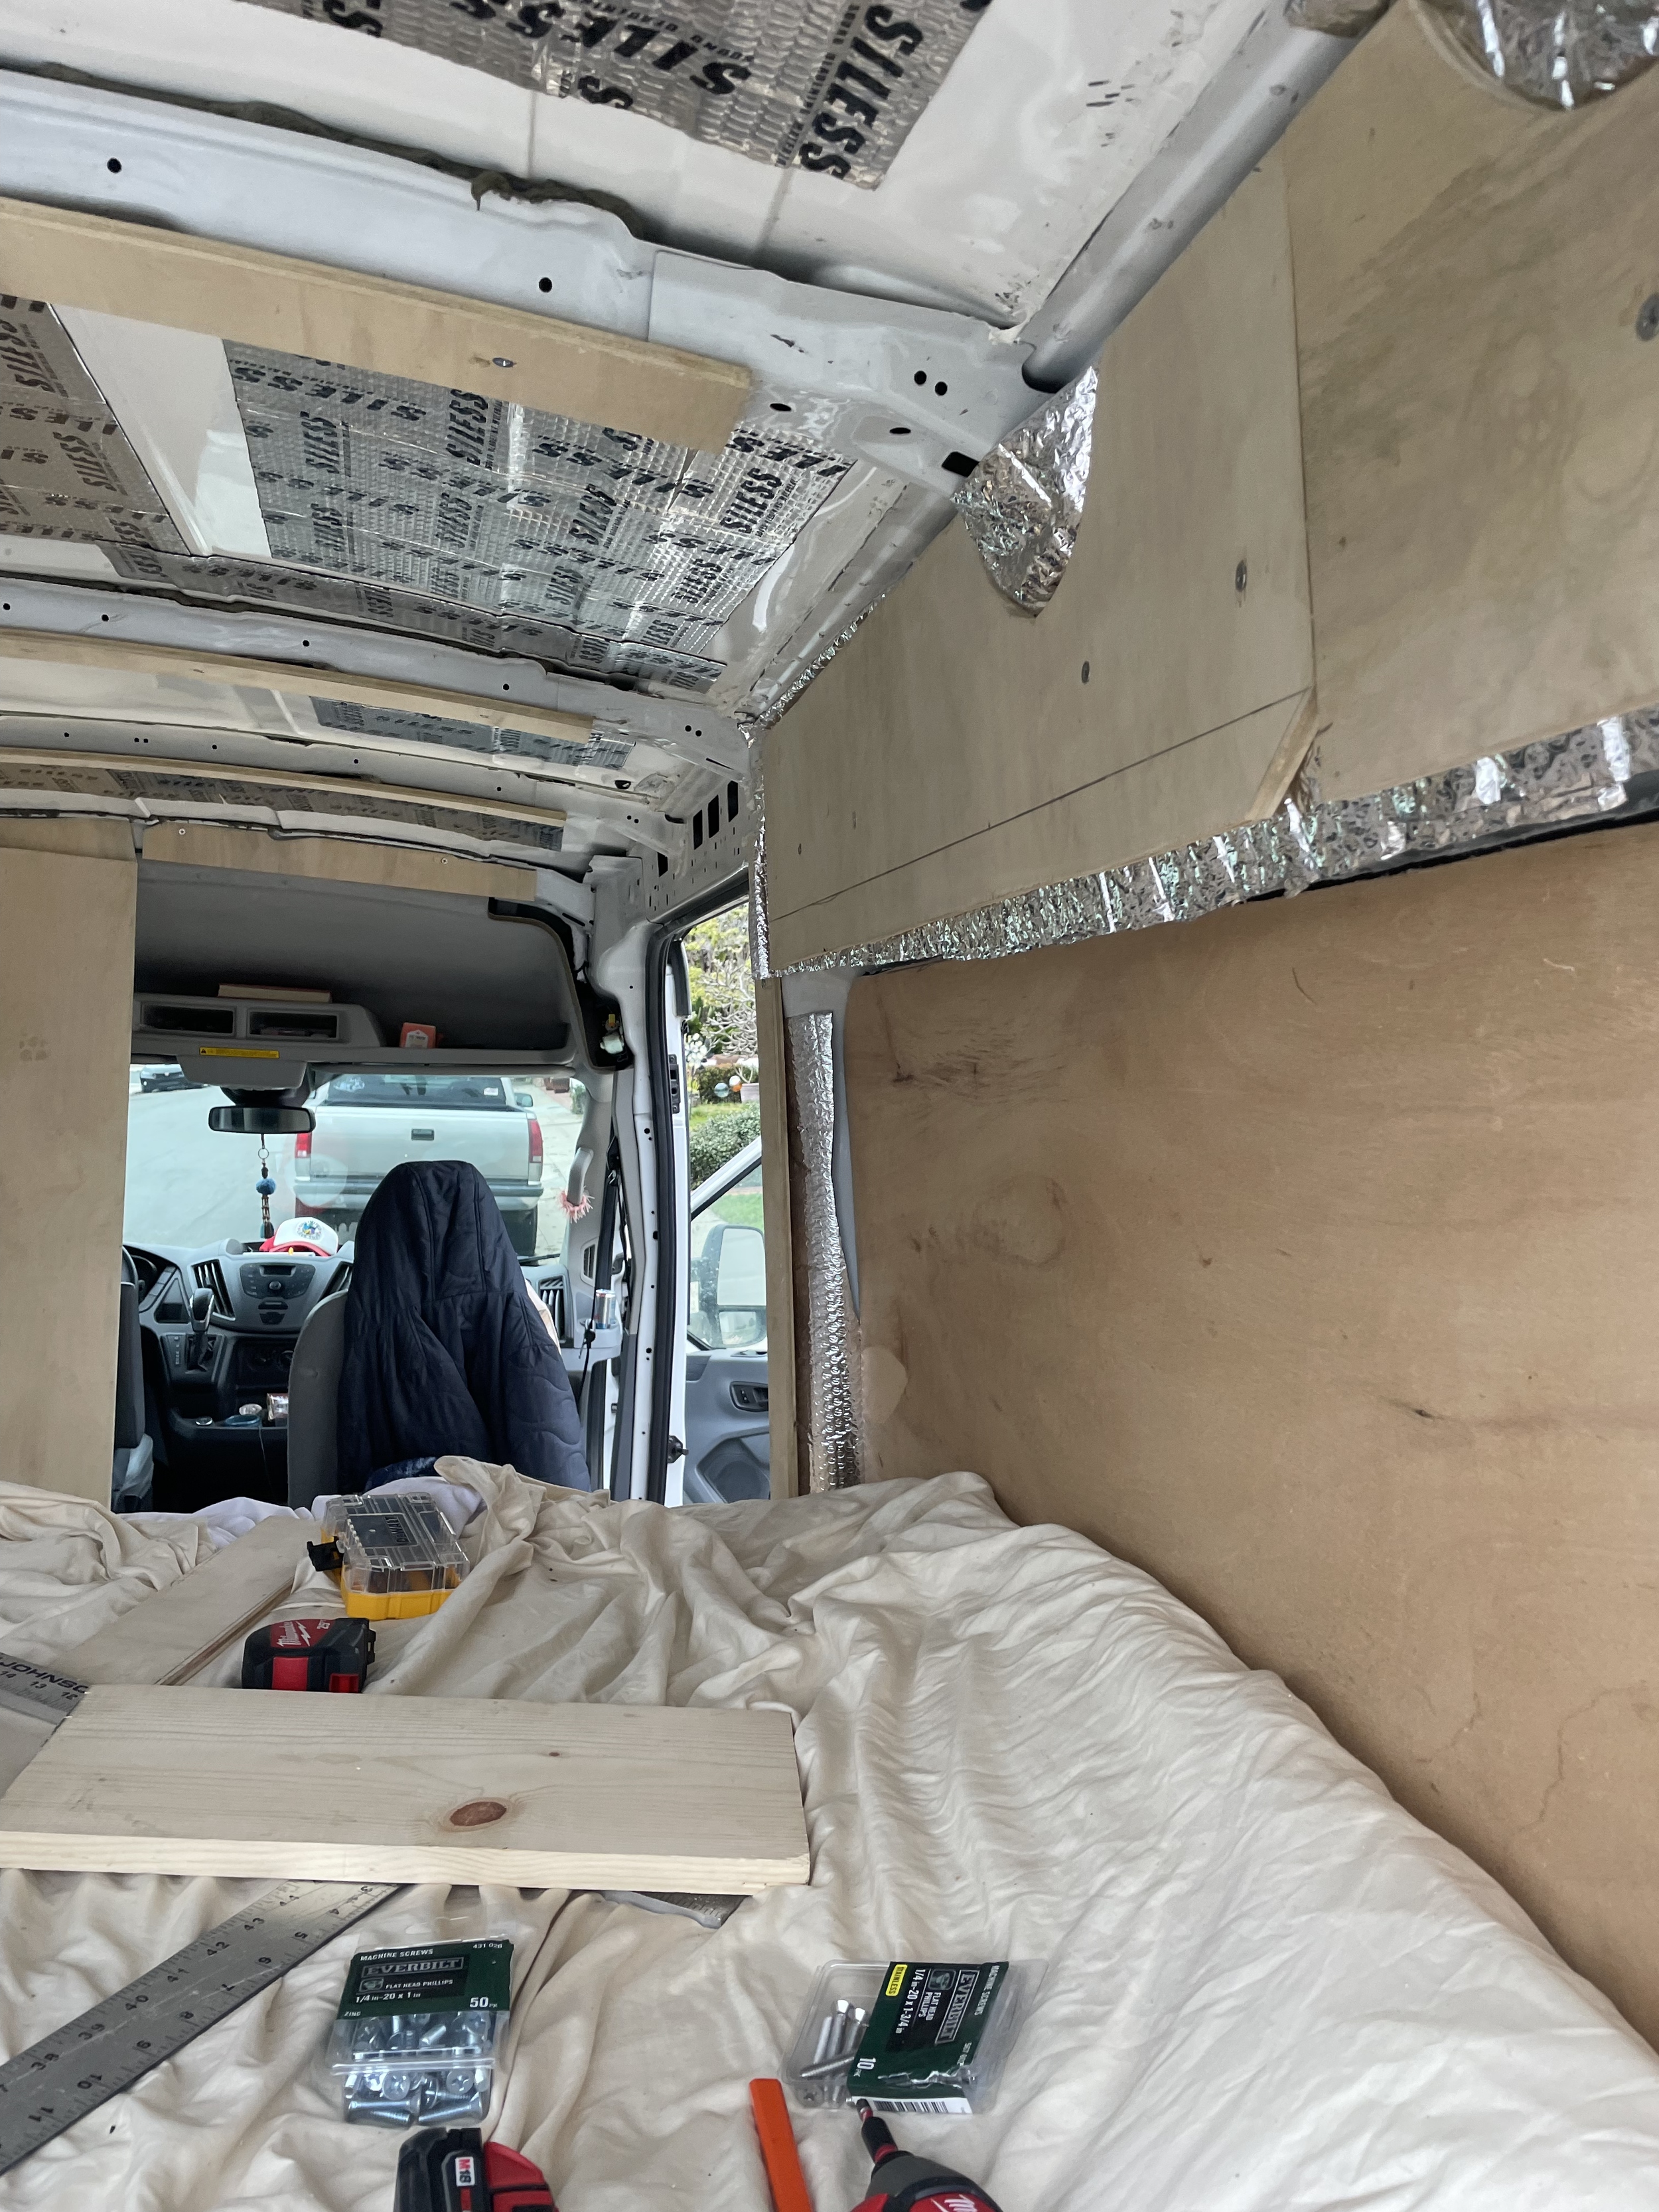
I wanted to make sure I wasn’t just stacking boards on each other without a game plan or the added weight of the van in mind.
STEP BY STEP:
Install the rivets into the premade van holes in the metal of the van using a rivet tool.
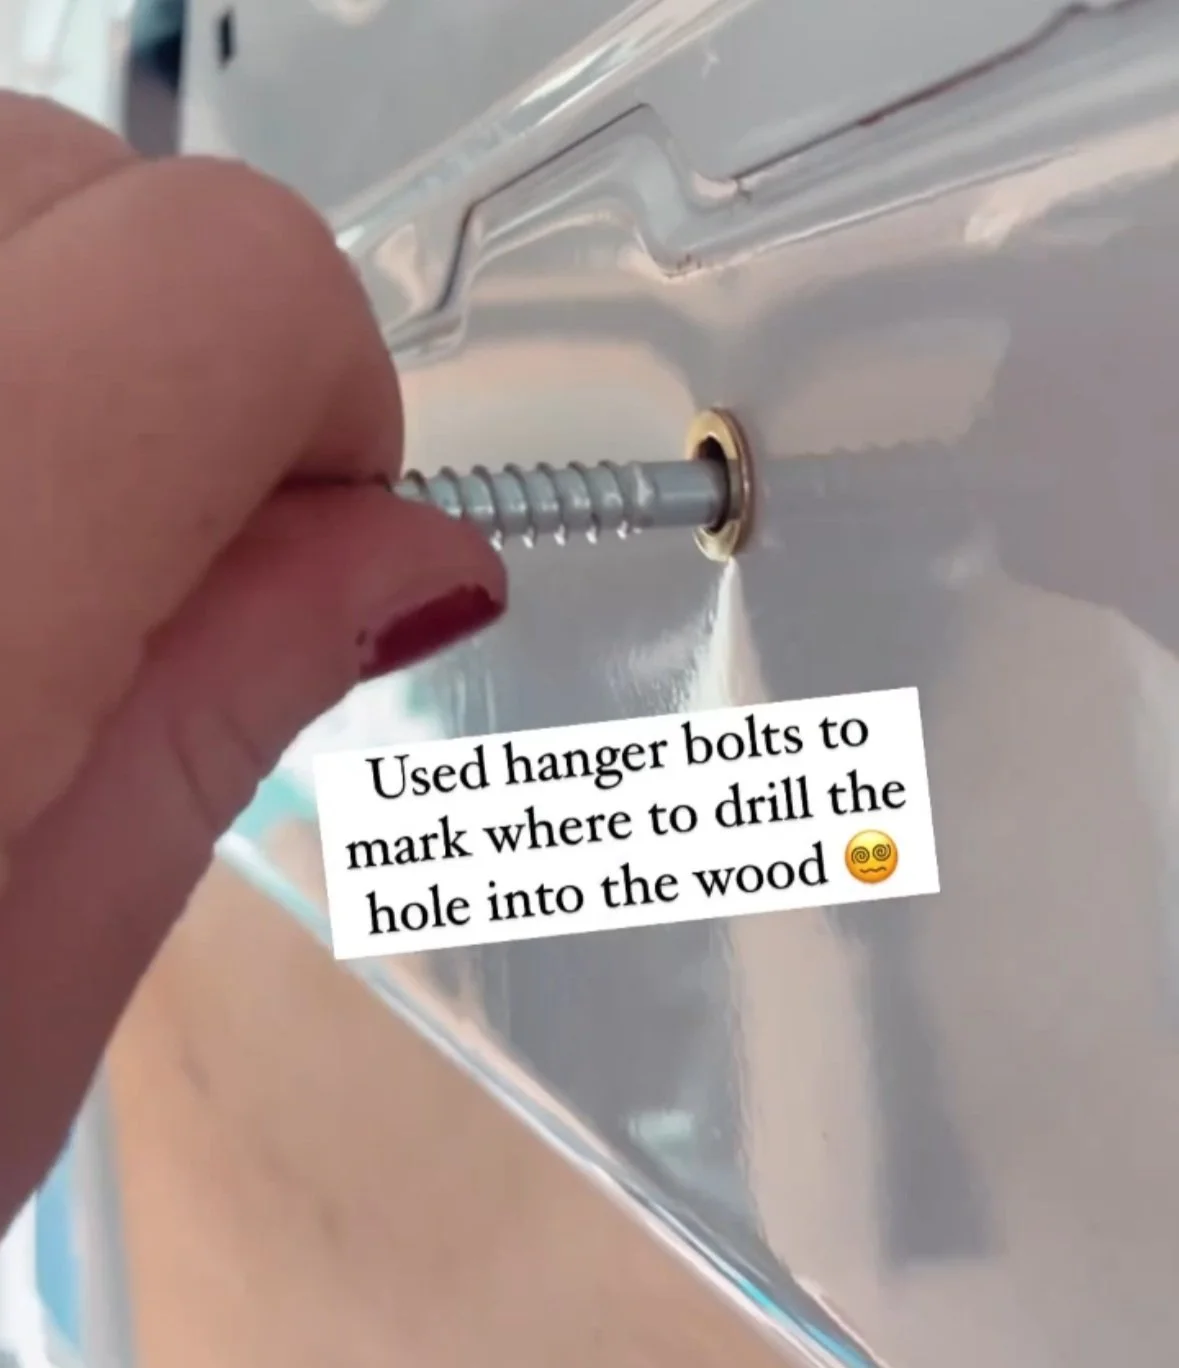
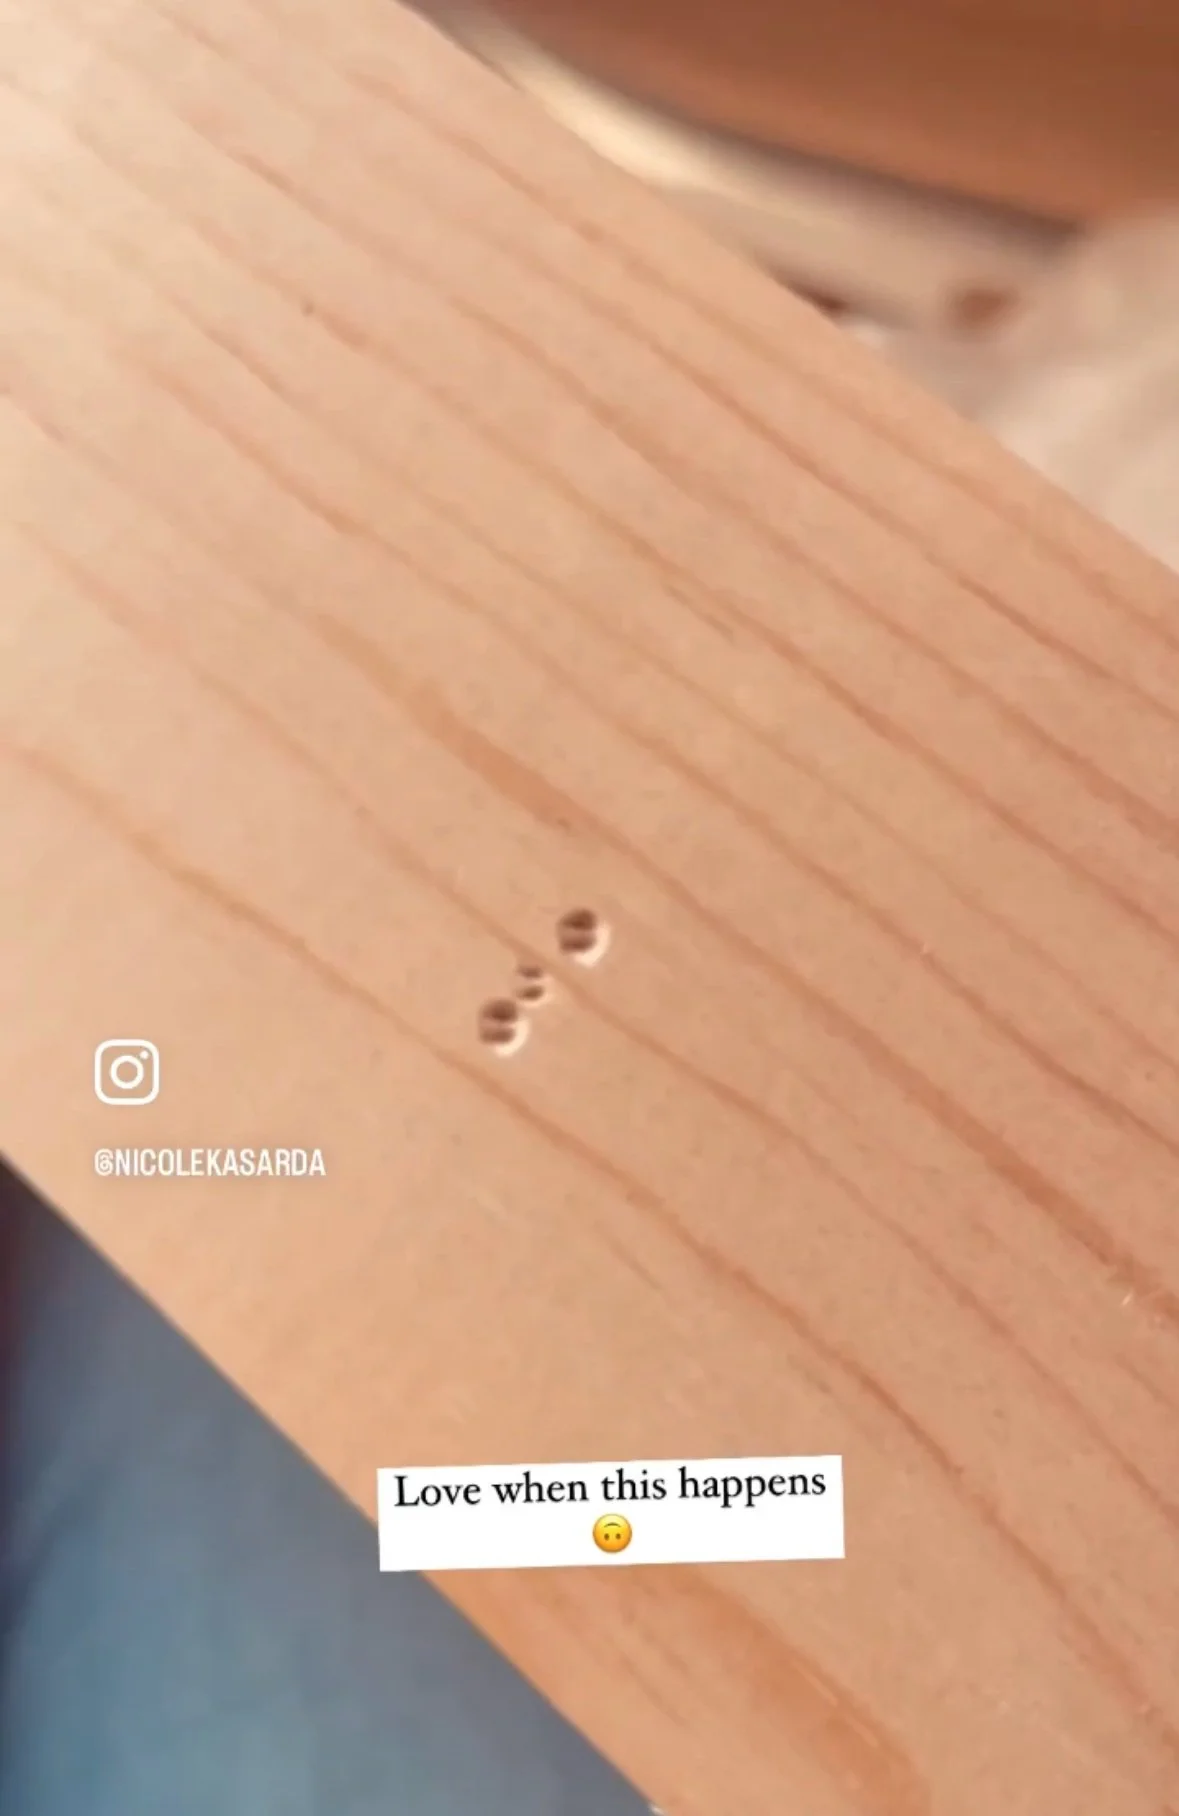
Hand twist hanger bolts into each rivet hole (the have a sharp tip that will press into your furring strip)
Trim your 1 by 3” 8’ furring strip (I started with the boards that would be going horizontally across the van)
Press the pine board into the hanger bolts.
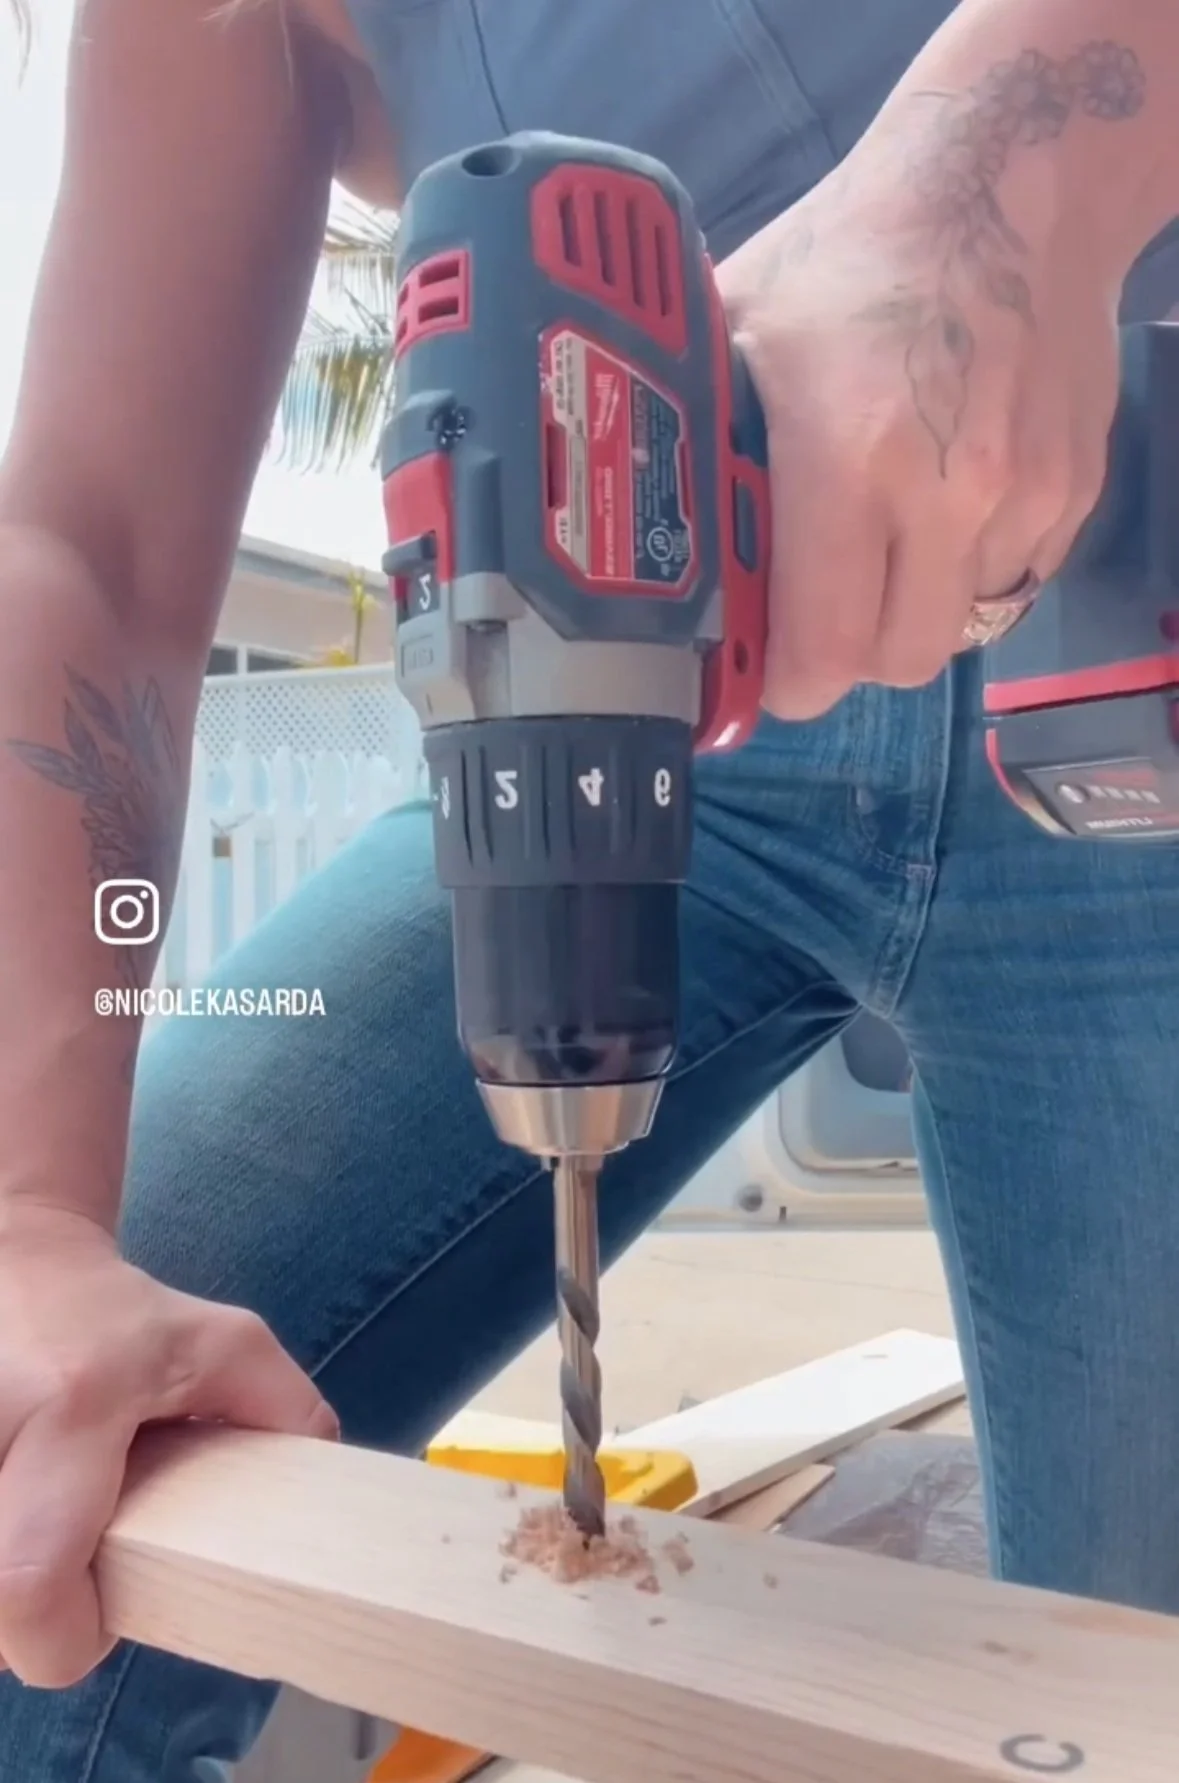
Remove the board and use a compact drill and a size 7 drill bit to create holes where the hanger bolts punctured the wood.
With the hanger bolts still in the rivet nuts and your hole drilled into your wood, hang the board back on the wall (this is to make sure your board is lined up and the bolts will go into the rivet nuts.
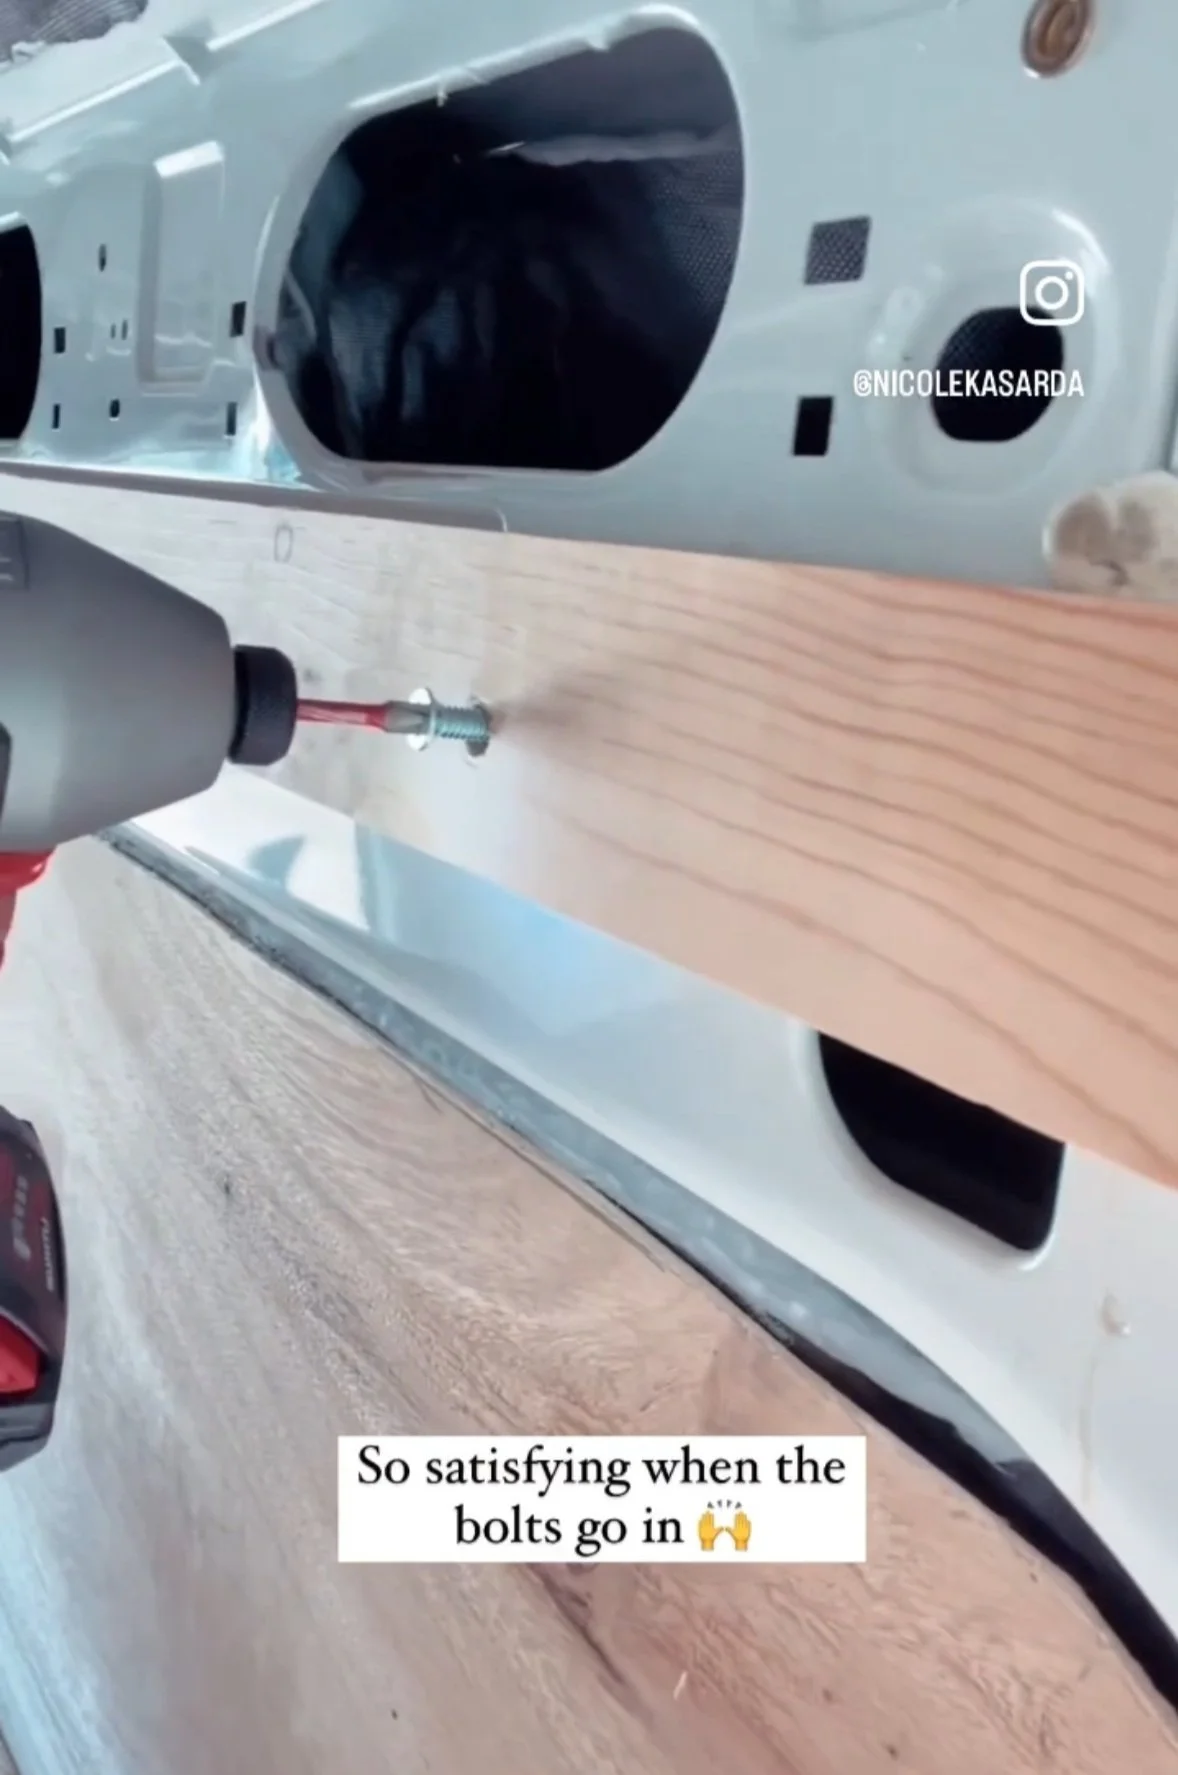
The last step is to screw your bolts into the furring strip. If you are doing this by yourself (like I was), only remove one hanger bolt at a time while you screw the board into the rivets. The hanger bolts act like, well…a hanger for your furring strip so it doesn't fall on your face.
When it comes to connecting the vertical boards into your horizontal ones, you are going to use the pocket jig and wood screws. You will need to follow the steps above when screwing any furring strip into a rivet.

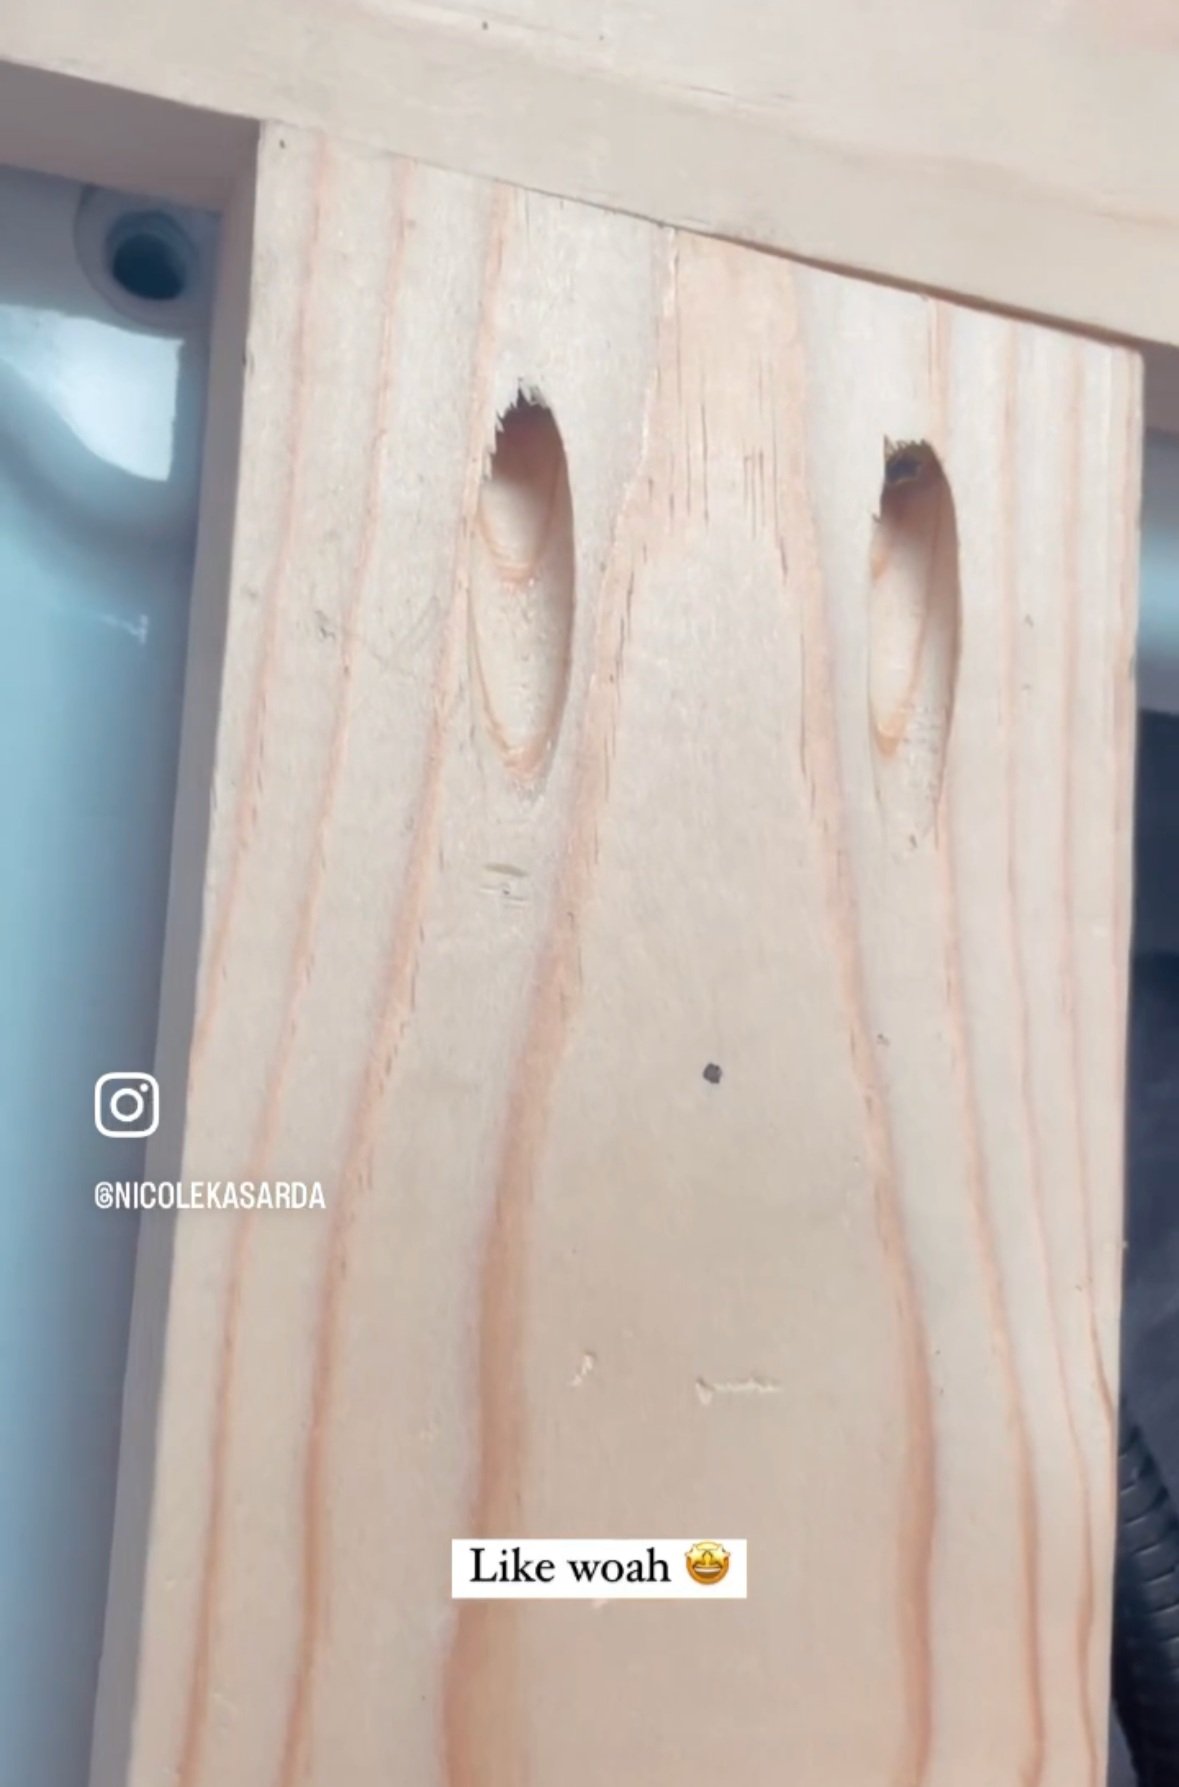
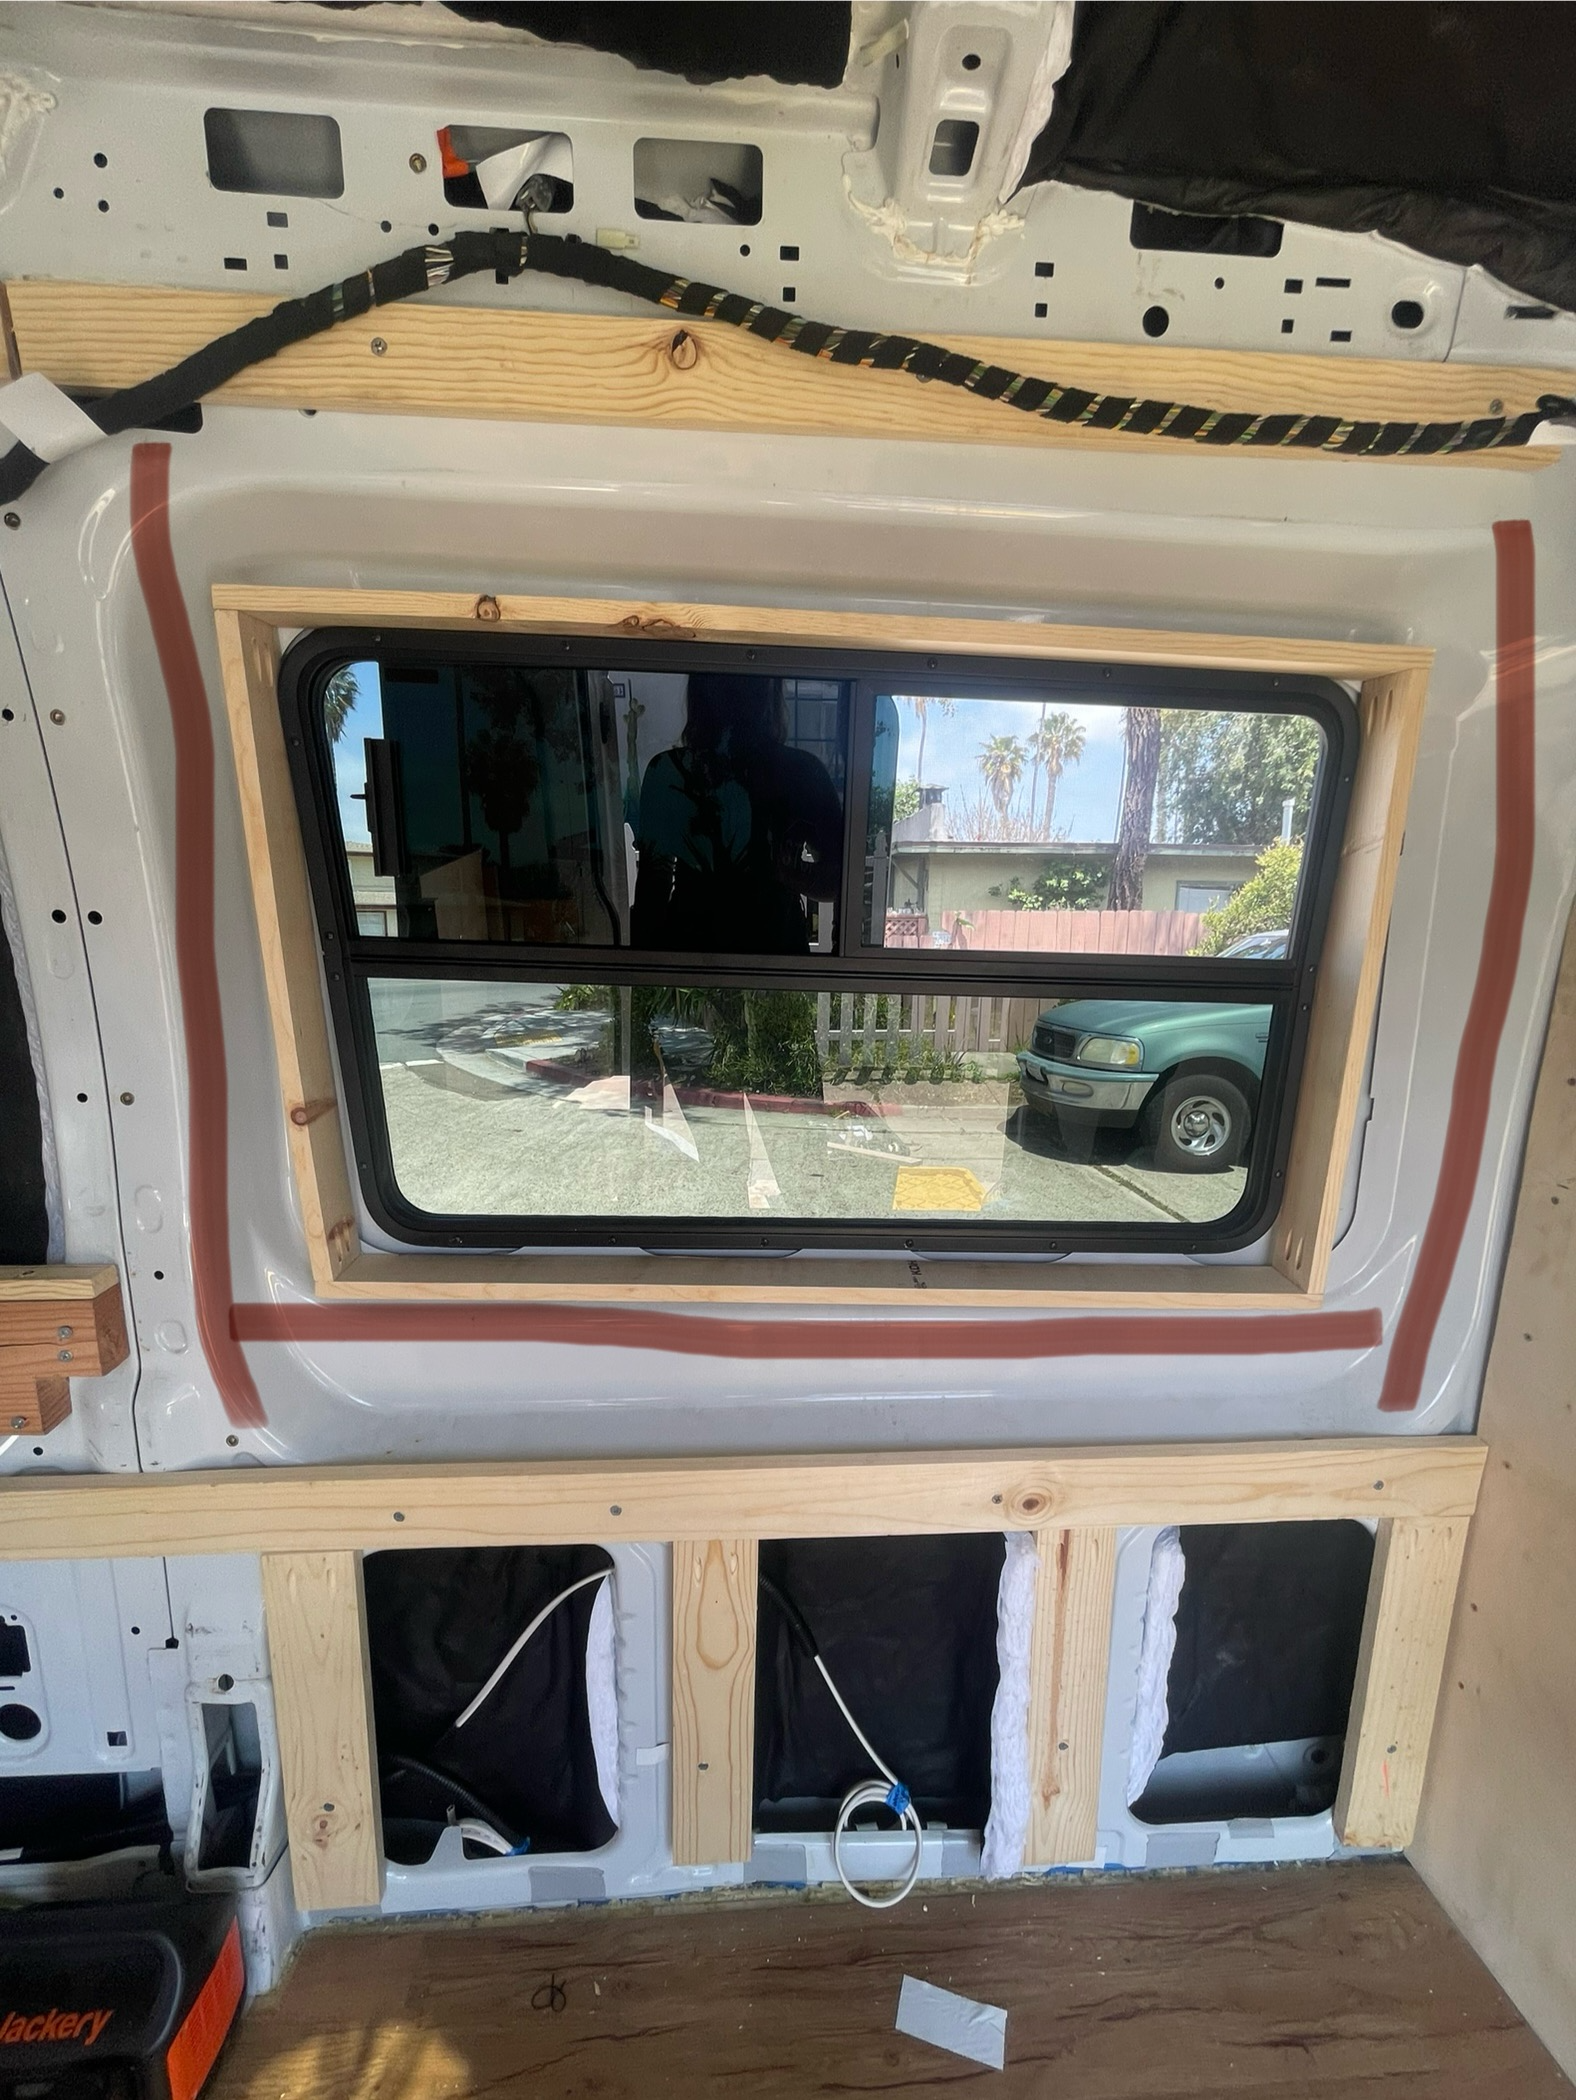
To watch the reel I made for framing my van click here: @nicolekasarda
Research Links
Ankeney Van Builds (Framing A Transit)
FarOutRide.com (Wood Panelling Installation)
Rolling Thru Life (How To Use A Kreg Pocket Hole Jig)